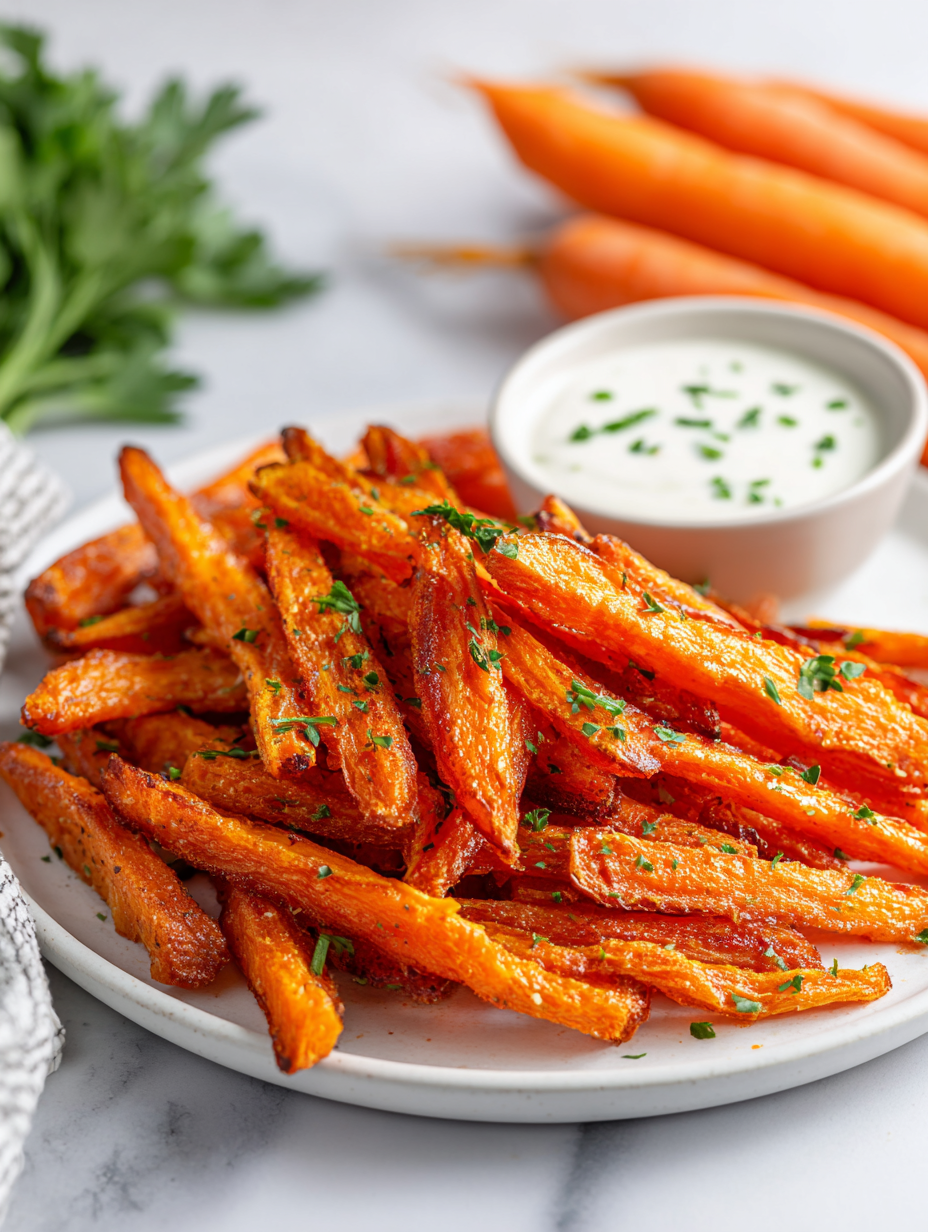
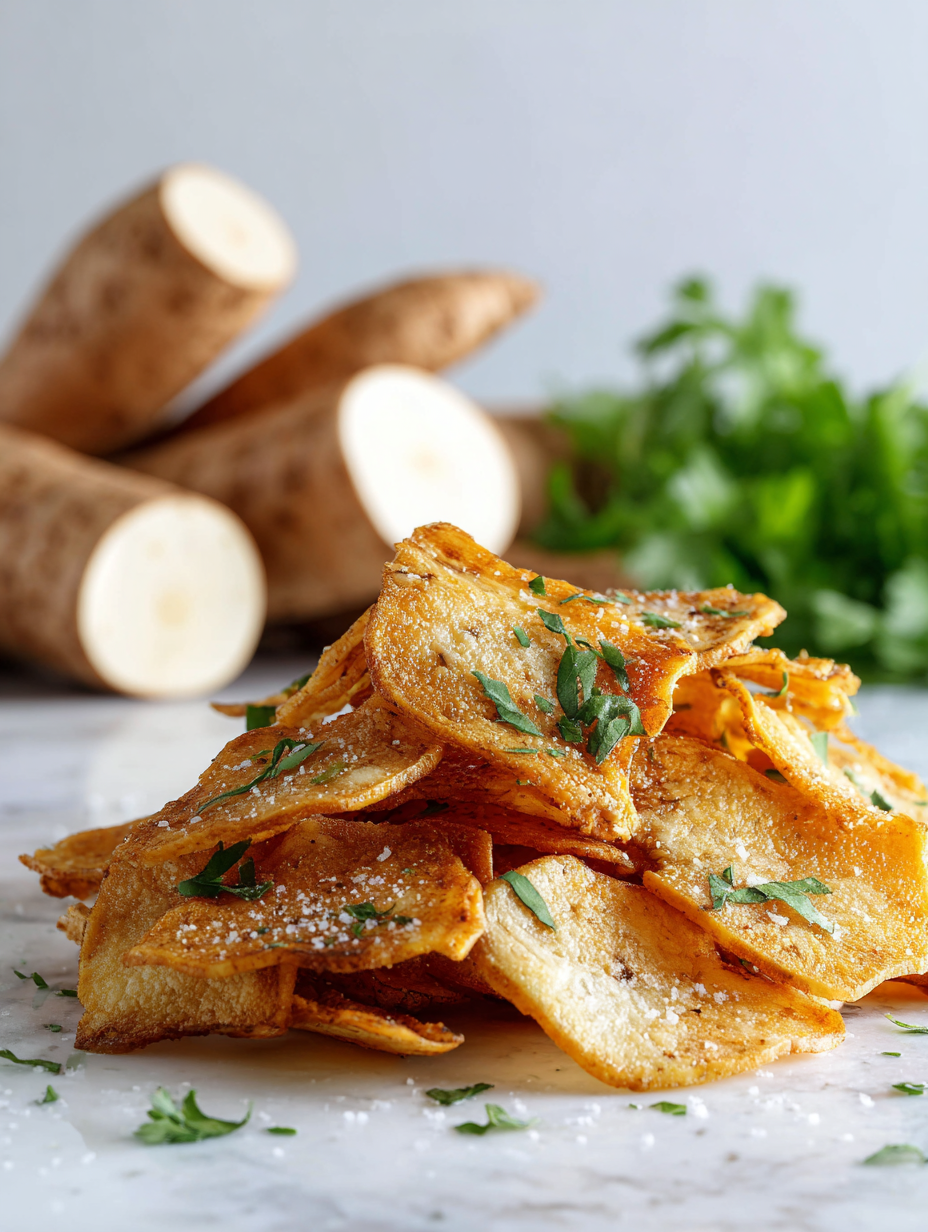
Baked carrot fries are a little secret weapon in my kitchen. I love how that natural sweetness of carrots gets amplified when roasted until they’re just caramelized around the edges. It’s a simple snack, but it feels like a treat—something unexpected from a humble root vegetable.
What draws me to this recipe is how it turns everyday carrots into something snackable and versatile. No greasy oil splatters, just a gentle bake that concentrates their flavor and softens their texture. Plus, the smell that wafts through the kitchen—sweet, earthy, with a hint of roasted magic—makes everyone curious.
This recipe became a go-to during busy weeknights when I crave something comforting yet healthy. It’s a reminder that sometimes, the simplest ingredients, treated with a little care, can surprise you with their depth and charm. Carrots are more than a side—they’re a snack that’s easy to love.
Focusing on the unexpected sweetness that carrots develop when baked into fries, transforming a humble root vegetable into a caramelized, snackable treat that surprises and delights.
The story behind this recipe
- I stumbled onto this recipe one rainy afternoon when I had a bunch of carrots that needed using up. I was tired of the usual roasted or steamed, and started experimenting with different cuts and baking times. What stuck was how the natural sweetness of carrots deepened and caramelized without much fuss, making for a snack that feels indulgent but is really just simple ingredients.
- This dish came together out of a need for a healthier, more interesting snack option that still satisfied that craving for something crispy and slightly sweet. Over time, I tweaked the baking temperature and seasoning, and now it’s a staple for whenever I want something quick, satisfying, and a little surprising.
- heading: The story behind this recipe
Ingredient breakdown: key components
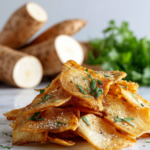
- Carrots: I prefer thick, sturdy carrots with a bright orange hue; they caramelize beautifully and hold up well during baking. Try skipping the thin ones—they tend to burn faster.
- Olive oil: A good splash of extra virgin adds a smoky richness and helps the fries crisp up; if you’re oil-averse, a light coating of melted coconut oil works too, just watch the flavor shift.
- Salt: I like sea salt flakes for that burst of crunch and saltiness that balances the natural sweetness; go easy if you’re sensitive to sodium, or add a pinch of smoked salt for depth.
- Paprika: I love smoked paprika for a subtle smoky warmth and vibrant color; sweet paprika works, but it’s less complex—try a pinch of cayenne if you want a kick.
- Optional herbs: Fresh thyme or rosemary can add a fragrant herbal note; sprinkle just before baking for a fresh burst, or stir in dried herbs mid-way for a more integrated aroma.
- Sweetener: Sometimes I toss in a touch of honey or maple syrup to boost caramelization; skip this if you prefer a less sweet profile, or use a drizzle after baking for a glossy finish.
Spotlight on key ingredients
Carrots:
- I prefer thick, sturdy carrots with a bright orange hue; they caramelize beautifully and hold up well during baking. Try skipping the thin ones—they tend to burn faster.
- Olive oil: A good splash of extra virgin adds a smoky richness and helps the fries crisp up; if you’re oil-averse, a light coating of melted coconut oil works too, just watch the flavor shift.
- Salt: I like sea salt flakes for that burst of crunch and saltiness that balances the natural sweetness; go easy if you’re sensitive to sodium, or add a pinch of smoked salt for depth.
Paprika:
- I love smoked paprika for a subtle smoky warmth and vibrant color; sweet paprika works, but it’s less complex—try a pinch of cayenne if you want a kick.
- Optional herbs: Fresh thyme or rosemary can add a fragrant herbal note; sprinkle just before baking for a fresh burst, or stir in dried herbs mid-way for a more integrated aroma.
Notes for ingredient swaps
- Dairy-Free: Use coconut oil instead of butter for a subtle coconut aroma and similar crispness.
- Oil Variations: Avocado oil offers a milder flavor, while sesame oil adds a nutty note—both work well.
- Sweetener: Maple syrup gives a rich, caramel-like flavor, but honey is a sweeter, more floral alternative.
- Salt: Sea salt flakes provide a crunchy texture and clean saltiness; table salt can be used but less crunchy.
- Paprika: Smoked paprika adds depth and smoky aroma, but sweet paprika keeps it milder and vibrant red.
- Herbs: Fresh thyme or rosemary brighten the fries with herbal notes; dried herbs are fine for convenience.
Equipment & Tools
- Baking sheet: To hold the fries during baking and ensure even heat distribution.
- Parchment paper: To prevent sticking and make cleanup easier.
- Mixing bowl: To toss and coat the carrot sticks evenly.
- Spatula or tongs: To flip the fries halfway through baking.
- Oven thermometer (optional): To verify accurate oven temperature for consistent results.
Step-by-step guide to baked carrot fries
- Preheat your oven to 200°C (390°F). Line a baking sheet with parchment paper for easy cleanup.
- Peel the carrots if you prefer a smoother fry, or leave the skin on for more texture and nutrients. Cut into evenly thick sticks, about 1/4 inch wide.
- In a mixing bowl, toss the carrot sticks with 2 tablespoons of olive oil, ensuring each piece is lightly coated. Add a pinch of salt and smoked paprika for flavor, tossing again.
- Arrange the carrot sticks in a single layer on the prepared baking sheet. Don’t crowd them; give each piece space to crisp up.
- Bake for 20-25 minutes. Check around 15 minutes; they should start to turn golden and caramelized around the edges. Flip once at the halfway point for even crispness.
- If the edges are burning before the middle is tender, lower the oven temp slightly or turn the tray. If they’re not caramelized enough, bake a few extra minutes, watching closely.
- Once golden and crispy, remove from oven. Let them rest for 2-3 minutes on the tray to firm up.
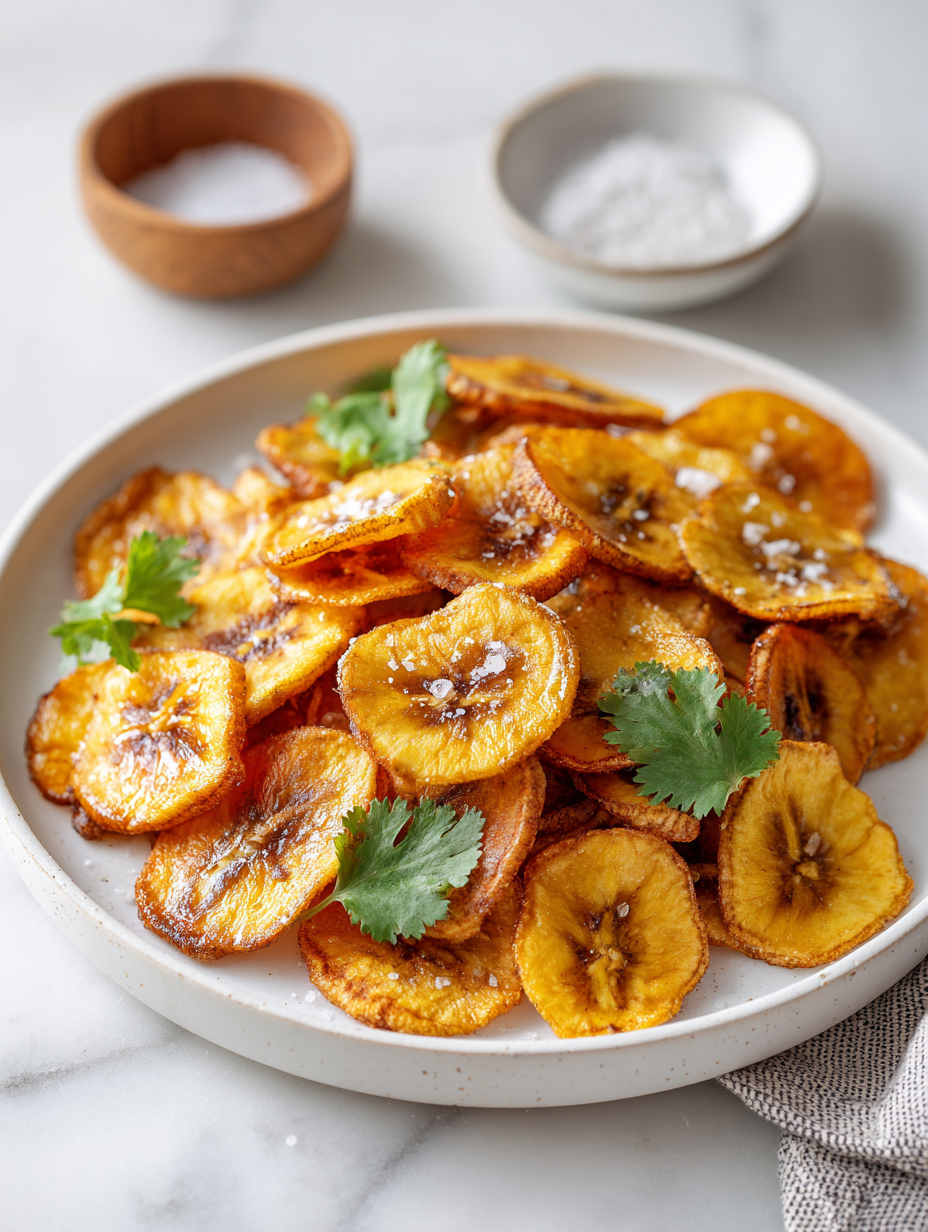
- Plate the fries as soon as they’re cool enough to handle—hot, crispy, with a sweet, smoky aroma. Serve immediately for best texture.
Let the fries rest on the tray for a few minutes to firm up. Serve hot, with a sprinkle of flaky sea salt or fresh herbs if desired. Plate directly for maximum crunch and aroma.
How to Know It’s Done
- Carrots are caramelized and golden around edges.
- Fries are crispy when gently pressed or bitten.
- They emit a sweet, roasted aroma indicating proper caramelization.
Baked Carrot Fries
Ingredients
Equipment
Method
- Preheat the oven to 200°C (390°F) and line your baking sheet with parchment paper.
- Peel the carrots if you prefer a smoother fry, or leave the skin on for extra texture and nutrients. Cut each carrot into evenly thick sticks about 1/4 inch wide to ensure uniform cooking.
- In a mixing bowl, toss the carrot sticks with olive oil, making sure each piece is lightly coated and shiny.
- Add the sea salt flakes and smoked paprika to the bowl, then toss again to distribute the seasonings evenly.
- Arrange the seasoned carrot sticks in a single layer on the prepared baking sheet, leaving space between each to promote crisping.
- Bake for 20-25 minutes, flipping the fries halfway through. Look for a deep golden color and caramelized edges, and listen for a gentle sizzling sound as they crisp up.
- Once the fries are crispy and fragrant with a sweet roasted aroma, remove them from the oven and let them rest for 2-3 minutes to firm up.
- Transfer the fries to a plate and enjoy immediately while warm, crispy, and bursting with caramelized sweetness.
Notes
Tips for perfect baked carrot fries
- Ensure even thickness of carrot sticks for uniform cooking.
- Toss carrots in oil while still cold to prevent clumping.
- Flip fries halfway to promote consistent caramelization.
- Check for a golden hue and slight crispness as doneness signs.
- Use high-quality smoked paprika for a more pronounced smoky flavor.
- Allow fries to rest a few minutes after baking to firm up and maintain crispness.
- For extra crunch, broil for 1-2 minutes at the end, watching carefully.
Common mistakes and how to fix them
- FORGOT to check oven temperature → Use an oven thermometer for accuracy.
- DUMPED carrots on the baking sheet too crowded → Arrange in a single layer for crispness.
- OVER-TORCHED fries before proper caramelization → Lower oven temp or flip midway.
- FAILED to preheat oven properly → Always preheat fully before baking for even cooking.
Quick fixes and pantry swaps
- If fries are soggy, splash with vinegar to boost brightness and restore crispness.
- When fries stick, patch with a quick spray of cooking spray before baking again.
- Splash a little lemon juice if fries taste flat after baking.
- Dumped too much oil? Shake off excess before baking to prevent greasiness.
- When fries burn before cooking through, shield edges with foil for even heat distribution.
Prep, store, and reheat tips
- Peel and cut carrots ahead of time; store in an airtight container in the fridge for up to 24 hours, keeping them crisp and fresh with a damp paper towel to prevent drying out.
- The fries can be baked and reheated within 2 days. Reheat in a 180°C (350°F) oven until crispy and fragrant, about 8-10 minutes; the aroma will tell you they’re ready.
- For longer storage, freeze baked fries in a sealed container for up to a month. Bake directly from frozen, adding a few extra minutes for crispness.
- Reheating causes some loss of crispness—reheat in the oven rather than microwave to preserve texture and bring back that roasted smell.
Top questions about baked carrot fries
1. Should I use specific carrots for the best fries?
Use carrots that are thick and sturdy; they caramelize better and hold their shape. Thin carrots tend to burn faster and become crispy too quickly.
2. How long and at what temperature should I bake them?
Bake at 200°C (390°F) for 20-25 minutes. Check for golden edges and a caramelized smell. Flip halfway through to ensure even crisping.
3. Can I add sweetener to the carrots?
Yes, tossing with a little honey or maple syrup before baking enhances caramelization and adds a touch of sweetness. Use sparingly for best flavor.
4. What oil is best for baking these fries?
Use a good quality olive oil or coconut oil for a richer flavor. Less flavorful oils like canola work, but won’t contribute as much depth.
5. How do I know when the fries are done?
Check for a deep golden hue and crispy edges. When they emit a sweet roasted aroma and feel firm but tender, they’re ready.
6. Can I customize the spices?
Yes, smoked paprika adds a smoky depth. Sweet paprika is milder, and cayenne gives a spicy kick—adjust to your taste.
7. How should I store and reheat leftovers?
Store baked fries in an airtight container in the fridge for up to 2 days. Reheat at 180°C (350°F) until crispy—about 8-10 minutes.
8. What if my fries lose their crispness?
If fries turn soggy, spray with a bit of vinegar or lemon juice before reheating. For extra crunch, broil for 1-2 minutes at the end.
9. What equipment do I need?
Use parchment paper to prevent sticking and ensure even baking. Flip halfway for uniform caramelization and crisp edges.
10. How do I prevent soggy fries?
Avoid overcrowding the baking sheet; give each piece space. Crowding causes steaming, which prevents crispiness and caramelization.
These baked carrot fries are a reminder that simple ingredients can surprise you with their depth. The caramelized edges and natural sweetness make them a perfect snack or side, especially when you crave something warm and comforting.
Whenever I make these, I’m struck by how something so humble can turn into a little burst of joy. They’re a great way to enjoy carrots in a new way, and I keep coming back to that slow, inviting aroma of roasted caramel—no fancy tricks, just honest cooking.

Hi, I’m Lily Hayes, the cook, writer, and heart behind Loving This Process. This blog is built on a simple idea that food is not just about the final dish, but about everything that happens while you’re making it. The thinking, the tasting, the adjusting, the learning, and the quiet moments in between. Food has been a constant presence in my life, not as something flashy or perfect, but as something deeply grounding. Cooking has always felt like a process worth savoring, even when it’s messy, slow, or imperfect.
Leave a Reply