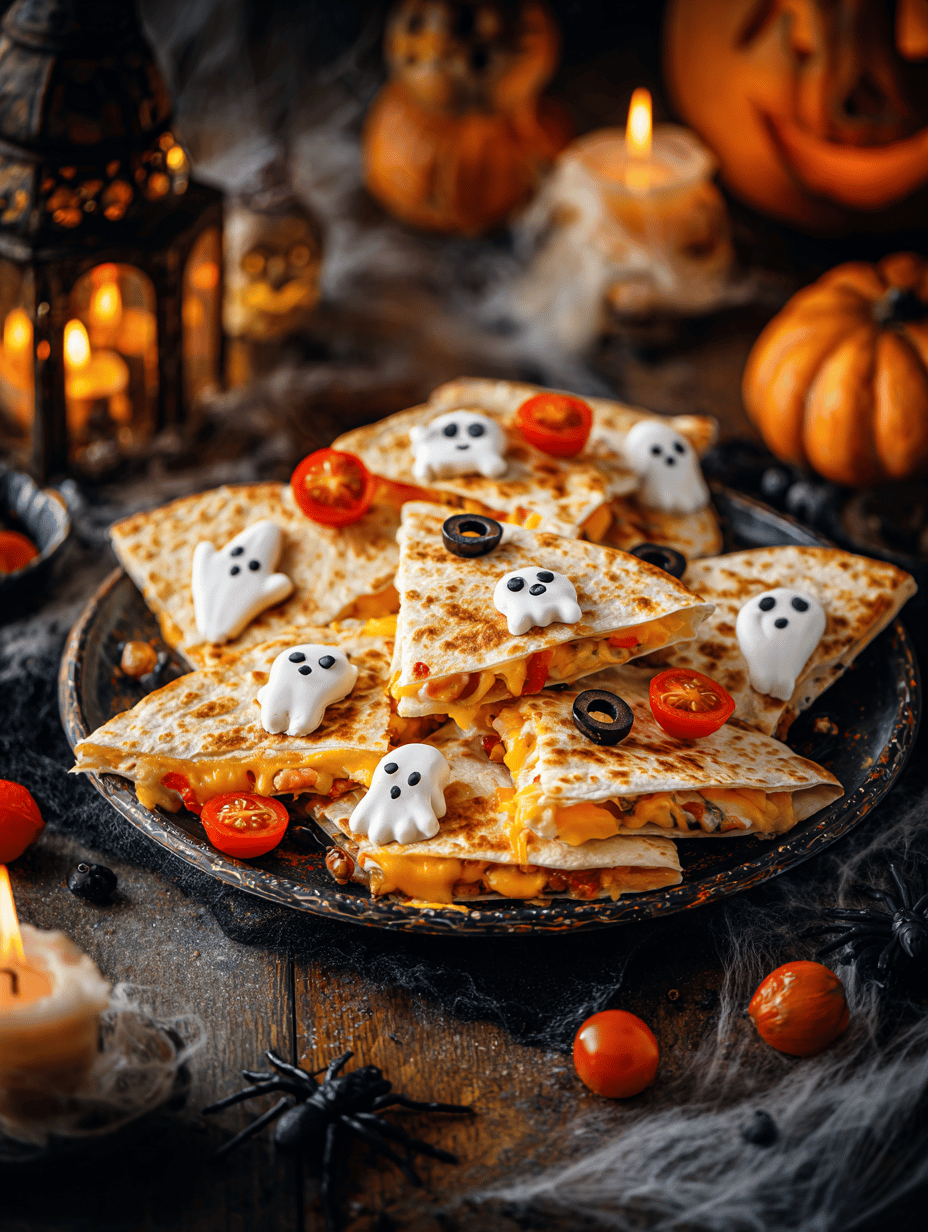
Halloween is all about playful scares and sweet surprises, but I lean into the savory side for my spooky gatherings. These quesadillas are a lazy, colorful tribute to the holiday, with a touch of chaos in every fold. They’re simple enough to whip up last-minute but fun enough to make everyone smile. Plus, the smoky cheese and crispy edges give a satisfying crunch that keeps people coming back.
Why I Keep Coming Back to These Halloween Quesadillas
They’re quick, forgiving, and endlessly customizable. I love how the crispy edges and gooey center come together in every batch, even when I’m rushing. Plus, they’re perfect for sharing or making in a pinch when last-minute guests arrive. The vibrant colors and playful fillings make every bite a little celebration.
Spooky Good Ingredients for Your Quesadilla
- Cheese: I love a sharp cheddar or a smoky Gouda. Swap for mozzarella if you want stretch.: Melts beautifully and adds that gooey, oozy texture.
- Tortillas: Corn or flour both work, but I prefer thin flour for crispness.: A neutral base that crisps up nicely and holds fillings.
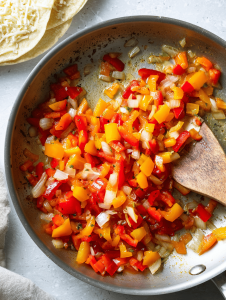
- Fillings: Black beans, orange peppers, shredded chicken — go wild with your spooky mix.: Colorful, flavorful, and filling, these add a festive punch.
- Spooky toppings: Black olives, chopped tomatoes, or even a drizzle of hot sauce.: Add visual punch and flavor depth.
- Seasonings: Cumin, chili powder, and smoked paprika.: Bring smoky warmth and depth to your fillings.
Tools of the Trade for Spooky Snacks
- Skillet or griddle: To cook the quesadillas evenly and achieve a crispy exterior.
- Spatula: To flip and handle the quesadillas with care.
- Knife: To chop fillings or cut quesadillas for serving.
- Cutting board: To prepare fillings and assemble safely.
Crafting the Perfect Halloween Quesadillas
Step 1: Preheat your skillet over medium heat, about 180°C (350°F).
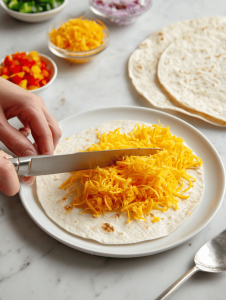
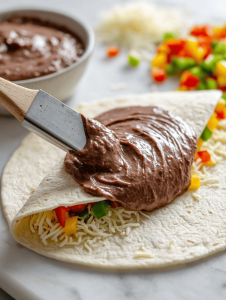
Step 2: Lay a tortilla flat, then spread a thin layer of cheese on half.
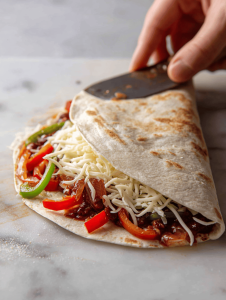
Step 3: Add your spooky fillings — think black beans, orange bell peppers, and shredded chicken — then fold.
Step 4: Cook for 2-3 minutes until the bottom is golden and crispy.
Step 5: Flip carefully, cook another 2-3 minutes until cheese is melty and filling is heated through.
Cooking Tips & Tricks for Halloween Quesadillas
- Ensure your skillet isn’t too hot to avoid burning the tortillas before cheese melts.
- Press down gently when flipping to keep fillings compact and prevent spilling.
- Look for a golden-brown color on the edges for perfect crispness.
- Use a spatula to lift edges and check for even melting and crisping.
Avoid These Common Halloween Quesadilla Fumbles
- Burned edges and under-melted cheese.? Use medium heat; high heat burns tortillas before cheese melts.
- Spilled filling and uneven cooking.? Press down gently when flipping; too much pressure squeezes out fillings.
- Soggy, shredded fillings.? Let the quesadilla rest 1 minute off heat to set before slicing.
- Pale, limp tortillas.? Check for a golden color; if not, cook a little longer.
Halloween Quesadillas
Ingredients
Equipment
Method
- Preheat your skillet over medium heat until warm and fragrant.
- Lay a tortilla flat on a cutting board and spread a thin layer of cheese on half of it, covering about half of the tortilla.
- Add your colorful fillings—black beans, sliced orange peppers, and shredded chicken—over the cheese on one side of the tortilla.
- Fold the tortilla in half, pressing gently to seal the fillings inside.
- Carefully transfer the folded quesadilla onto the preheated skillet, listening for a gentle sizzle as it contacts the pan.
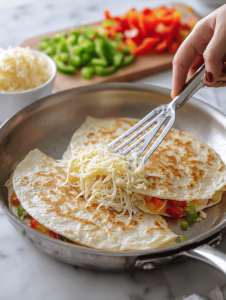
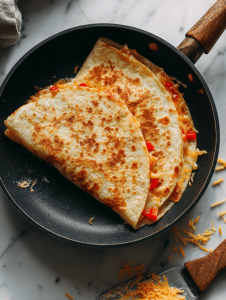
- Cook for about 2-3 minutes until the bottom is golden brown and crispy, then flip with a spatula.

- Cook for another 2-3 minutes on the second side until the cheese is melted and the edges are crispy.
- Use a spatula to gently lift and check for a deep golden color and crispy texture on both sides.
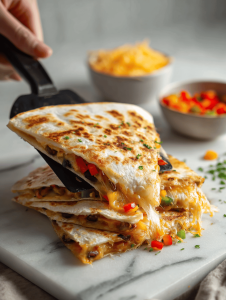
- Transfer the cooked quesadilla to a cutting board and let it rest for a minute to set the fillings.
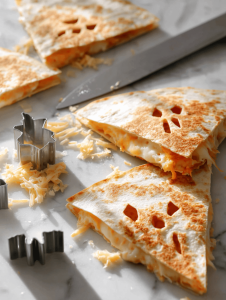
- Slice the quesadilla into wedges, revealing the gooey melted cheese and colorful fillings inside.
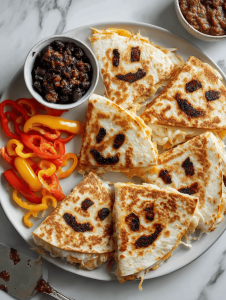
- Decorate with sliced black olives, chopped tomatoes, or drizzle hot sauce for a spooky finishing touch.
- Serve warm and enjoy the crispy, cheesy, colorful bites that make every Halloween gathering a little more festive!
Notes

Hi, I’m Lily Hayes, the cook, writer, and heart behind Loving This Process. This blog is built on a simple idea that food is not just about the final dish, but about everything that happens while you’re making it. The thinking, the tasting, the adjusting, the learning, and the quiet moments in between. Food has been a constant presence in my life, not as something flashy or perfect, but as something deeply grounding. Cooking has always felt like a process worth savoring, even when it’s messy, slow, or imperfect.


Leave a Reply