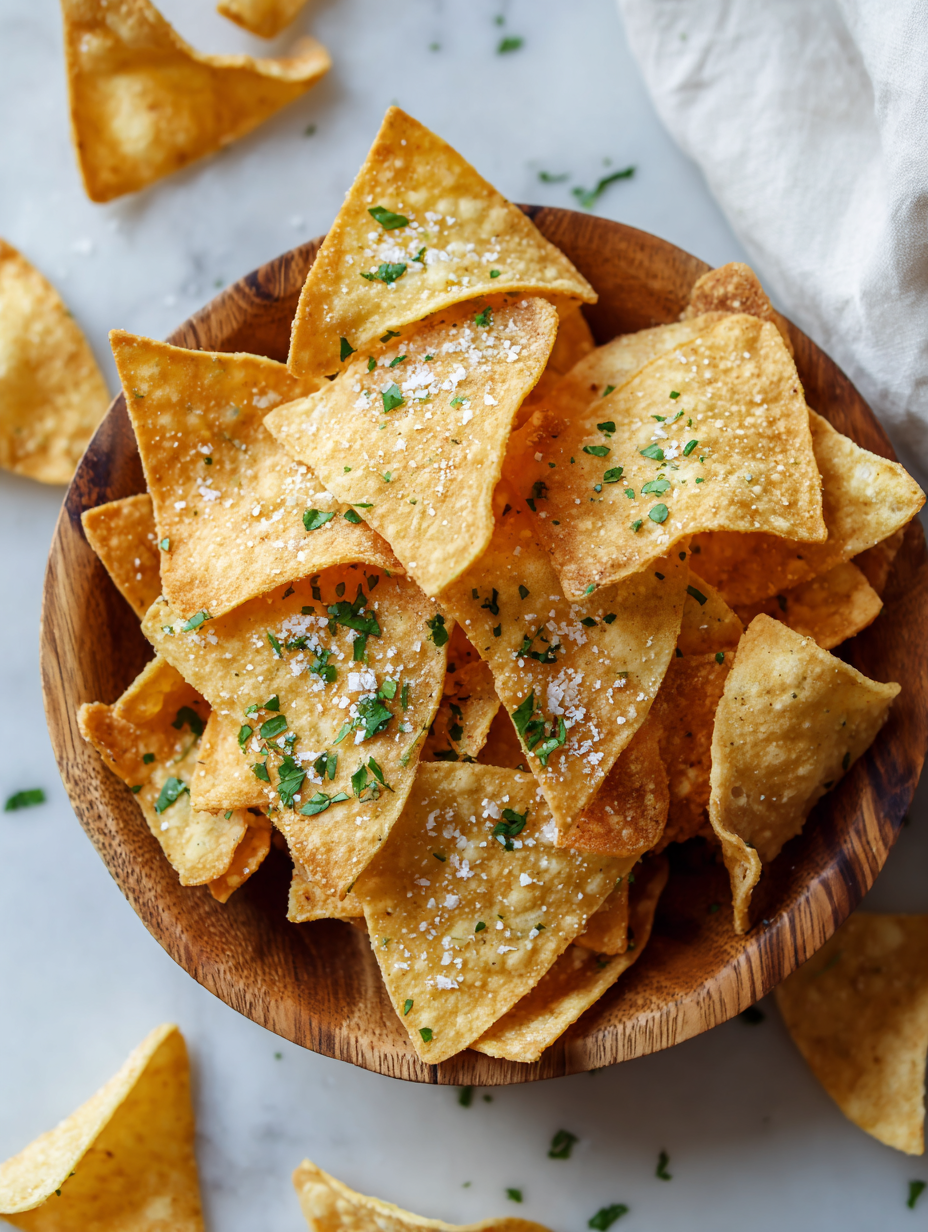
Baking tortilla chips might seem simple, but there’s a quiet satisfaction in transforming plain tortillas into crispy, golden snacks without the greasy mess of frying. It’s a method that rewards patience with a crunch that’s just right and a flavor that’s pure, unobstructed by oil. Plus, it’s a healthier approach that lets you customize seasoning to match your mood or the occasion.
I’ve found that the key is in the thinness and evenness of the slices. A sharp knife or a mandoline makes all the difference, ensuring each chip bakes uniformly. When they come out of the oven, hot and fragrant with toasted corn aroma, it’s hard not to reach for more—no guilt, just good, honest snack-making.
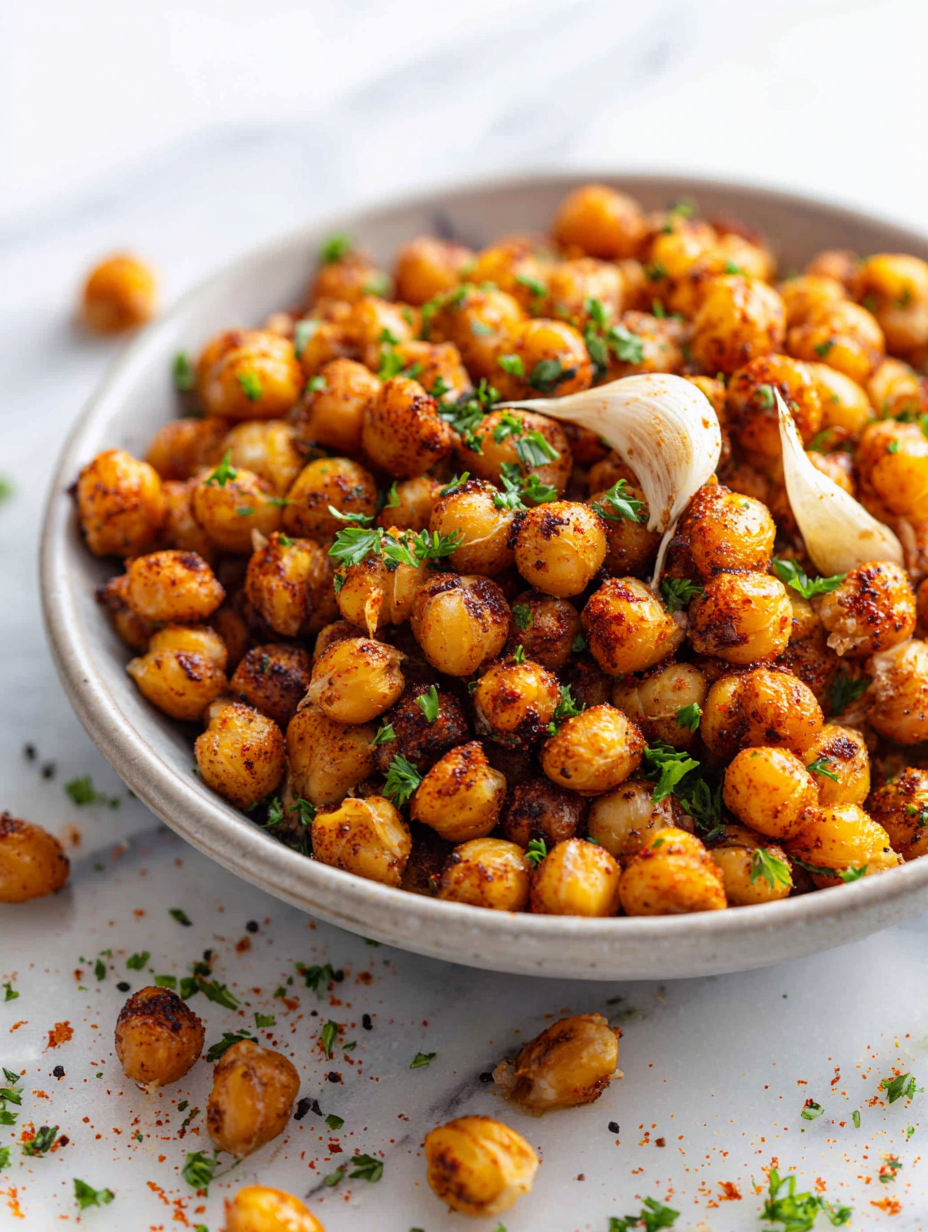
Focusing on the art of transforming humble tortillas into crispy, flavorful chips without deep frying, emphasizing the process of baking for a healthier, more customizable snack.
The story behind this recipe
I started making baked tortilla chips one lazy afternoon when I realized I was craving something crunchy but didn’t want the oil splatters or heaviness of fried chips. The house smelled like toasted corn and a hint of paprika, which instantly took me back to childhood snack times around the kitchen table. Since then, it’s become my go-to for quick, customizable snacks that don’t feel like a guilty indulgence. It’s funny how a simple idea—baking instead of frying—can turn a basic tortilla into something crispy and satisfying, yet still light enough to enjoy with everything from guacamole to salsa. Now, I keep a stash in the oven or freezer, ready for anytime cravings or unexpected guests.
Breakdown of Key Ingredients
- Corn tortillas: I like using whole corn tortillas for that authentic flavor; if you want a softer chip, warm them slightly before slicing.
- Olive oil: A light brush with good olive oil gives a subtle richness and helps the seasoning stick; skip for a completely oil-free version, but expect a crisper texture.
- Sea salt: Freshly sprinkled makes a noticeable difference—don’t skimp, and add a pinch more if you love that salty crunch.
- Paprika or chili powder: I add a smoky paprika for warmth; if you prefer heat, toss in some cayenne, but watch the spice level near the end.
- Seasonings: Cumin, garlic powder, or even a dash of cinnamon can elevate the flavor—try whatever suits your mood, but keep balance in mind.
- Optional toppings: A scatter of grated cheese or herbs after baking adds a fresh, vibrant touch—just sprinkle and bake for a minute or two to meld flavors.
- Lemon juice or zest: A quick squeeze or zesting brightens everything with a citrusy zing—use sparingly to keep it lively but not overwhelming.
Spotlight on key ingredients
Corn tortillas:
- I prefer using whole corn for that authentic, slightly nutty flavor; warming them slightly makes slicing easier, and they hold up well during baking.
- Olive oil: A light brush with good-quality olive oil adds a subtle, fruity richness; skip if you want completely oil-free chips, but expect a slightly softer crunch.
Seasonings:
- Sea salt: Freshly sprinkled salt enhances every bite—don’t be shy, a good pinch makes all the difference in flavor and crunch.
- Paprika or chili powder: I love adding smoky paprika for warmth and color; for more heat, toss in a pinch of cayenne, but be mindful of spice level as chips bake.
Notes for ingredient swaps
- Dairy-Free: Swap butter or cheese for avocado or hummus—adds creaminess without dairy, but expect a slightly different flavor profile.
- Gluten-Free: Use corn tortillas made from 100% corn, or try cassava flour tortillas for a different texture and taste.
- Low-Sodium: Choose unsalted tortillas and reduce or skip added salt—your chips will be milder but still tasty.
- Extra Crispy: Brush lightly with oil and bake a minute longer—watch closely to prevent burning.
- Spicy Kick: Add cayenne or smoked paprika for heat—use less if you prefer milder chips.
- Herb Variations: Sprinkle with dried herbs like oregano or thyme before baking—adds aroma and a fresh taste.
- Oil Options: Use avocado or coconut oil instead of olive—each brings a distinct aroma and richness, so choose based on your flavor preference.
Equipment & Tools
- Baking sheet: To hold the chips during baking and ensure even heat exposure.
- Parchment paper or silicone mat: Prevent sticking and make cleanup easier.
- Sharp knife or mandoline: To slice tortillas uniformly for even baking.
- Pastry brush or spray bottle: To evenly coat chips with oil.
- Tongs or spatula: To flip chips halfway through baking.
Step-by-step guide to baked tortilla chips
- Preheat your oven to 180°C (350°F). Line a baking sheet with parchment paper or a silicone mat for easy cleanup.
- Take your tortillas—about 4 to 6, depending on size. Using a sharp knife or a mandoline, cut them into triangles or strips, aiming for uniform thickness so they bake evenly.
- Lay the cut tortillas in a single layer on the prepared baking sheet. Avoid overlapping to ensure crispness all around.
- Lightly brush or spray each piece with a thin layer of olive oil. This helps them crisp and makes seasonings stick better.
- Sprinkle with sea salt and your choice of seasonings—paprika, chili powder, cumin—whatever flavor profile you’re craving. Less is more; you can always add more after baking.
- Bake in the middle rack for 12-15 minutes. Keep an eye on them after the 10-minute mark. They should turn golden and crispy, with edges curling slightly.
- Halfway through, flip the chips with tongs or a spatula for even baking. This prevents burning and encourages uniform crunch.
- When they’re golden and smell toasted, check for doneness. The chips should be crispy and not bendable. If they’re still soft, bake a few more minutes, but watch carefully to avoid over-browning.
- Remove from the oven and let them rest on the baking sheet for 2-3 minutes. They firm up as they cool, achieving perfect crunch.
- Transfer to a wire rack if you want to avoid sogginess. Serve warm or at room temperature with your favorite dips.
Let the chips rest for a few minutes to become fully crisp. Serve in a bowl or plate, adding extra salt or seasoning if desired. Enjoy immediately for the best crunch, or store in an airtight container once cooled.
How to Know It’s Done
- Color: Chips should be golden brown, not burnt or pale.
- Texture: They should feel firm and crunchy when cooled.
- Appearance: Edges should be slightly curled and evenly crisp.
Baked Tortilla Chips
Ingredients
Equipment
Method
- Preheat your oven to 180°C (350°F) and line a baking sheet with parchment paper or a silicone baking mat.
- Stack the corn tortillas and use a sharp knife or mandoline to cut them into triangles or strips, aiming for uniform thickness to ensure even baking.
- Arrange the sliced tortillas in a single layer on the prepared baking sheet, making sure they don’t overlap so each piece crisps evenly.
- Using a pastry brush or spray bottle, lightly coat the tortilla pieces with olive oil, just enough to give a subtle sheen and help seasonings stick.
- Sprinkle sea salt and paprika evenly over the oiled tortilla pieces, distributing the seasoning for flavorful, well-coated chips.
- Bake in the middle rack for about 12-15 minutes, until the chips turn golden brown and feel crispy when gently pressed.
- Halfway through baking, flip the chips with tongs or a spatula to promote even browning and crispness on both sides.
- Keep an eye on the chips as they near the 12-minute mark; they should be golden, fragrant, and crunchy, not burnt or pale.
- Remove the baking sheet from the oven and let the chips cool on the sheet for 2-3 minutes; they will firm up as they cool down.
- Transfer the chips to a wire rack if desired for maximum crispness, or serve directly from the sheet with your favorite dips.
Pro tips for perfect baked tortilla chips
- Thin, even slices ensure uniform baking and crispness.
- Lightly brush or spray with oil for better crunch and flavor adherence.
- Sprinkle seasoning generously before baking for a well-seasoned chip.
- Flip halfway through to promote even browning and prevent burning.
- Keep a close eye near the end; chips turn quickly from perfect to burnt.
- Let chips cool on a rack for maximum crispness and avoid sogginess.
- Use a sharp knife or mandoline for consistent thickness and even baking.
Common mistakes and how to fix them
- FORGOT to check chip color → Ensure chips turn golden, not burnt or pale.
- DUMPED all seasoning at once → Season in layers for even flavor and coating.
- OVER-TORCHED chips → Remove early if edges darken quickly, avoid bitter taste.
- MISSED flipping halfway → Flip chips for uniform crispness and prevent overbaking on one side.
Quick fixes for baking success
- When chips burn quickly, splash a little water on the tray and lower oven temp.
- If chips stick, patch with a paper towel and bake a minute longer to dry out moisture.
- When chips are soggy, shield edges with foil and bake 2 more minutes for crispness.
- Dumped too much seasoning? Open windows, brush off excess, and bake a minute to set flavors.
- When lacking a mandoline, slice tortillas with a sharp knife, then gently flatten uneven edges with a rolling pin.
Prep, store, and reheat tips
- Prepare and slice tortillas ahead of time; store in an airtight container to keep them dry and crisp.
- Baked chips can be stored in an airtight container at room temperature for up to 3 days, maintaining crunch and flavor.
- For longer storage, freeze cooled chips in a sealed bag; they’ll stay good for up to 1 month but may lose some crispness.
- Reheat chips in a 150°C (300°F) oven for 3-5 minutes; they’ll regain that crispy texture and warm aroma.
- Avoid storing chips in humid environments; moisture makes them soggy and dulls the crunch.
Top questions about baked tortilla chips
1. How do I know when baked chips are done?
Look for chips that are golden and crispy, not pale or burnt, with a firm crunch when you bite into them.
2. My chips aren’t crispy enough, what should I do?
If they seem soft or bendable, pop them back in the oven for a few more minutes until crisp.
3. Can I slice tortillas with a regular knife?
Use a sharp knife or mandoline to cut tortillas into even pieces, which helps them bake uniformly.
4. Is oil necessary for crispy baked chips?
Lightly brushing or spraying oil helps with crispness and helps seasonings stick better.
5. What’s the best baking surface for chips?
Bake on a parchment-lined sheet or silicone mat for easy cleanup and even baking.
6. How long do baked tortilla chips stay fresh?
Store cooled chips in an airtight container at room temperature for up to 3 days.
7. How do I reheat leftover chips?
Reheat in a 150°C (300°F) oven for 3-5 minutes, which helps regain some crispness.
8. What if my chips burn in the oven?
If chips burn quickly, lower the oven temperature and keep a close eye during the last few minutes.
9. Can I customize the seasonings on baked chips?
You can add spices like cumin or chili powder before baking for extra flavor.
10. Can I use flour tortillas instead?
Using corn tortillas from the store works perfectly; opt for whole corn for more authentic flavor.
These baked tortilla chips are a simple reminder that good snacks don’t need to be complicated or fried. When they come out of the oven, hot and fragrant, it’s hard not to reach for just one more. It’s a small, satisfying act of homemade comfort, perfect for any day that calls for a crunchy, savory treat.
In a world full of overly processed snacks, this humble recipe offers a moment of honest, crispy joy. Plus, they’re flexible enough to customize with your favorite seasonings or dips. Sometimes, the simplest things are the best, especially when they come from your own kitchen.

Hi, I’m Lily Hayes, the cook, writer, and heart behind Loving This Process. This blog is built on a simple idea that food is not just about the final dish, but about everything that happens while you’re making it. The thinking, the tasting, the adjusting, the learning, and the quiet moments in between. Food has been a constant presence in my life, not as something flashy or perfect, but as something deeply grounding. Cooking has always felt like a process worth savoring, even when it’s messy, slow, or imperfect.

Leave a Reply